Every Mac device has Disk Utility, one of the best utility tools available, offering many features. Users find the 'First Aid' feature useful when Mac OS can't repair the disk external hard drive. Unfortunately, it may not always work and displays disk utility not loading issues. It may seem complex, but you can quickly deal with this error efficiently. How? Find all the details in this guide here.
Part 1: What are the possible causes of the Disk Utility can't repair this disk issue?
Often, you may encounter disc utility Mac not loading. It can take place due to various reasons:
- Corrupted firmware causing the Disk Utility error.
- Severe damaged hard drive that's difficult to repair.
- Using outdated Mac OS versions.
- Removal of the disk at the initial disk operation.
- Corrupted data is present in the disk.
- Malware attack.
Part 2: Ways to Fix Disk Utility Can't Repair This Disk Error
Method 1 Fix macOS Can't Repair the Disk with First Aid Again
Disk Utility helps Mac users to manage the internal or external hard drive. This inbuilt utility tool can assist users in creating or merging partitions, unmounting, and repairing them. This feature is extensively used since it can resolve various issues related to your hard drive without the risk of data theft and loss. Follow the instructions here to fix this error.
Stepbystep guide:
Step 1: Open Launchpad, go to Other and start Disk Utility.
Step 2: Select View and click on Show all devices at the top left of the application.
Step 3: Choose the required volume or risk to repair and tap on First Aid at the upper corner.
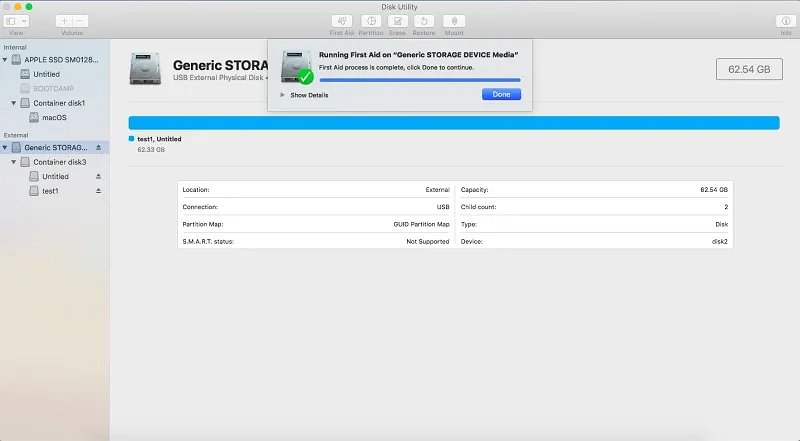
Step 4: Press Run to see and repair all the disk problems.
Special Note: If Disk Utility cannot repair the disk drill or your screen flashes with a notice stating that the First Aid has failed and you are asked to reformat or backup, please abide by the suggestion to protect your data.
Method 2 Using SingleUser Mode (FSCK Command) When Disk Utility First Aid Failed
If macOS can't repair the disk's external hard drive, we suggest you use the FSCK command to deal with the disk utility not working. This command helps Mac users to improve their disks manually. To run it, reboot your device by turning on the singleuser mode. Later, go through the steps below to fix internal and external issues.
Stepbystep guide:
Internal Disk:
Step 1: Restart your system. Press & hold the Command + S key while your system boots. The boot process will finish in a singleuser mode.
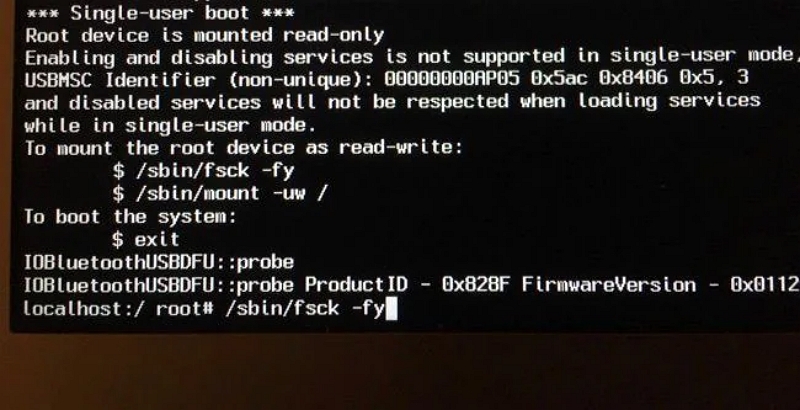
Step 2: Enter the "/sbin/fsck –fy" command after launching the terminal window on the singleuser mode. This diagnostic and disk repair command will start scanning and fixing your disk automatically.
Step 3: The readonly mode of the disk is already on in the singleuser manner; make sure you change it first. Type the "/sbin/mount uw /" command and hit enter.
Step 4: If all the steps are executed correctly, the screen will display the "The volume Macintosh HD appears to be OK" prompt. If it doesn't show, enter the "fsck –fy" command until you get the desired result.

Step 5: After the Macintosh HD is resolved, use the reboot command and restart the system in the default mode.
External Disk:
Step 1: Older Mac users should restart their computer while briefly holding down the Command + S keys as it boots. This will cause it to start up in singleuser mode automatically. If you use an M1 Mac, hold down Command and R while the computer is restarting, then select Utilities > Terminal.
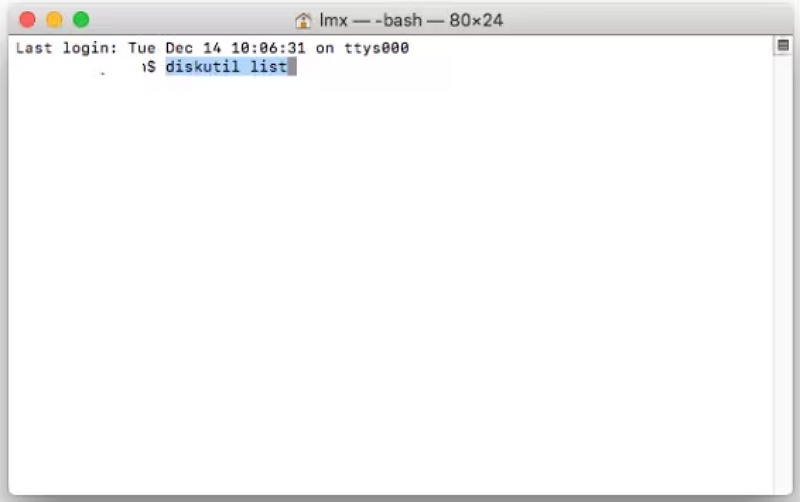
Step 2: Enter this command line: diskutil list. Click Enter. This will guide you in finding all your external hard drives connected to the PC.
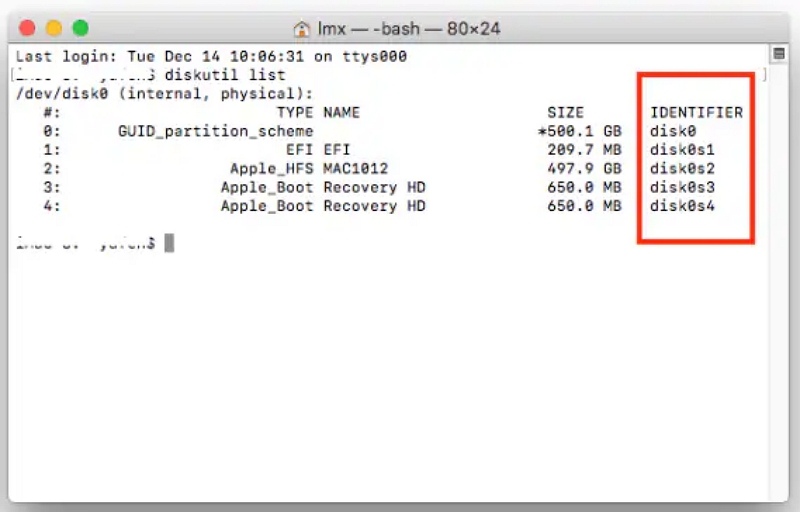
Step 3: Find the identifier information of your external hard drive. Before copying it, make sure to check it so that you can repair it.
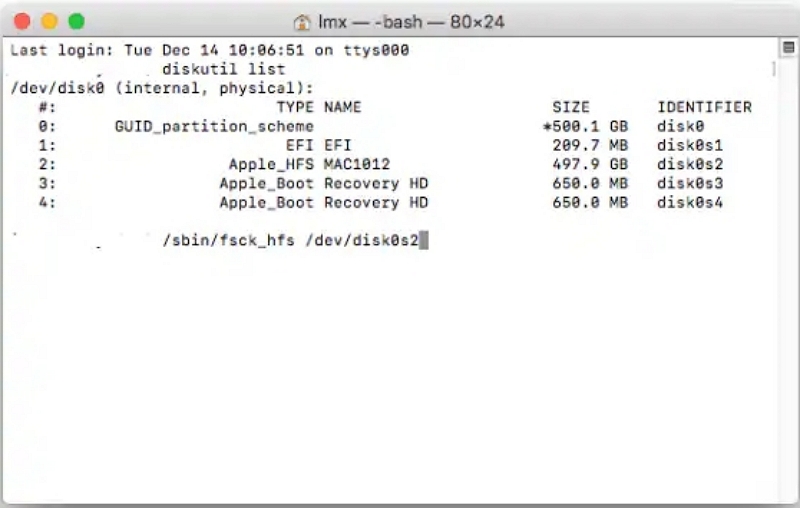
Step 4: Enter the command info /sbin/fsck_file system –fy /dev/drive identifier.
Step 5: Hit Enter to begin the examination and repair processing of the disk.
Method 3 Repair Startup Disk Using macOS Recovery Mode
Performance can be enhanced; in some cases, lost data can be recovered by repairing discs using OS X's Disc Utility. If you have problems with OS X, it can also be used on your internal partition. To do this, the computer must be started in recovery mode. Because fixing the internal division can have serious consequences, we advise backing up any critical data before continuing.
Stepbystep guide:
Step 1: Find Disk Utility on the Applications > Utilities folder—type 'Disk Utility' in Spotlight.
Step 2: After loading the Disk Utility, choose 'Verify Disk' and let the Mac assess your disk. Allow it to provide a diagnosis to confirm if the drive is functioning well or needs urgent repair.
Step 3: Select the repair disk in your external disk and allow the procedure to finish.
Step 4: You must boot into recovery mode before attempting to repair the internal partition on which your operating system is installed so that your Mac can examine and fix any "in use" files.
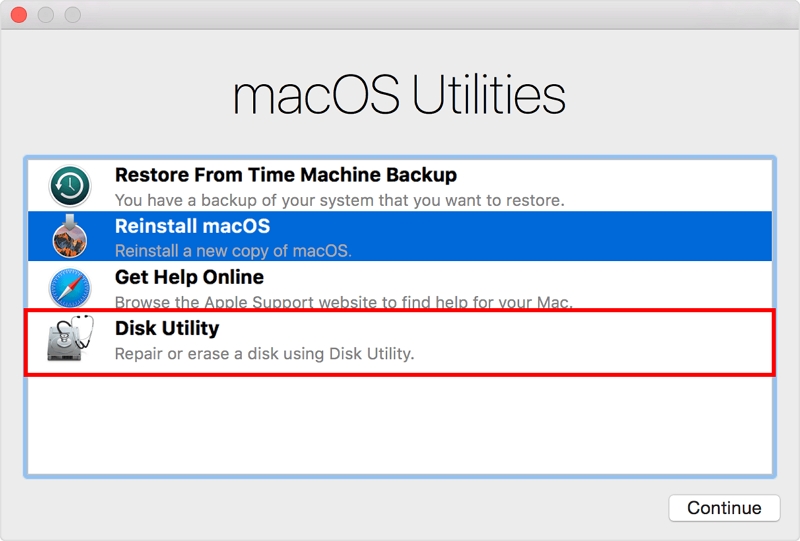
Step 5: Restart the system. Enter Command + R while the system is starting.
Step 6: Go to the Mac OS utility menu and choose Disk Utility. After it is loaded, select the disk that needs to be repaired. Macintosh HD is the default name of the system partition. Select 'Repair Disk'.
Part 3: How to back up or recover lost data from an unrepairable disk?
Method 1: Back up with a Time Machine
You can easily access your data once you are done with the disk utility not working issue. Remember that you won't be able to access your data if you format the disk. Fortunately, one disk backup is already stored on the Time Machine. Follow the steps below for more assistance:
Stepbystep guide:
Step 1: Connect the Time Machine disk to the system. From your system preferences, start the Time Machine application.
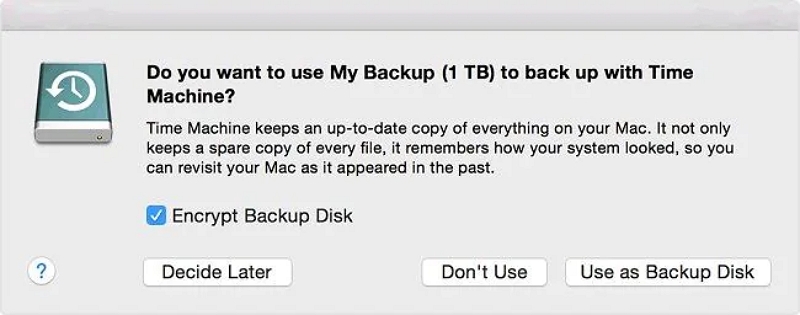
Step 2: Open the Time Machine and start browsing. Take the help of your arrow keys to start browsing the backup files.
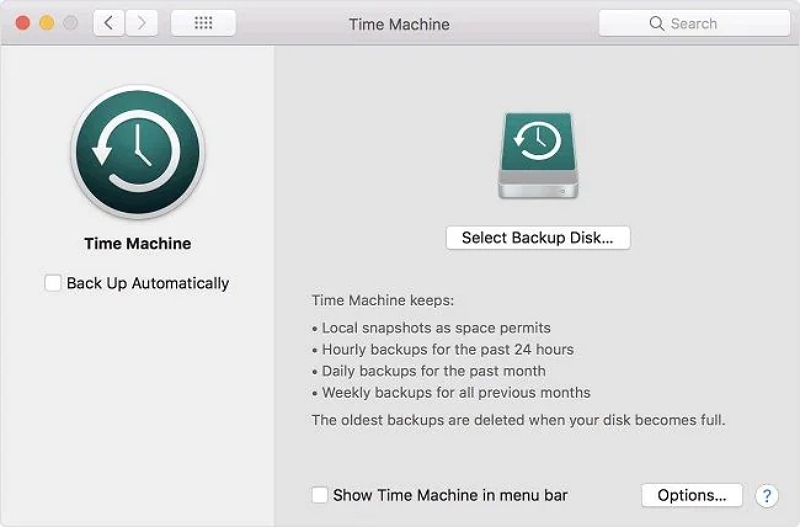
Step 3: After finding your required data, press the 'Restore' icon to save that to the original location.
We recommend using a recovery tool if you still need to do your data backup. For example, using Eassiy Data Recovery can help you to recover data from your formatted hard drive. Please read about it below.
Method 2: Access lost data from the disk that Disk Utility can't repair using Eassiy Data Recovery
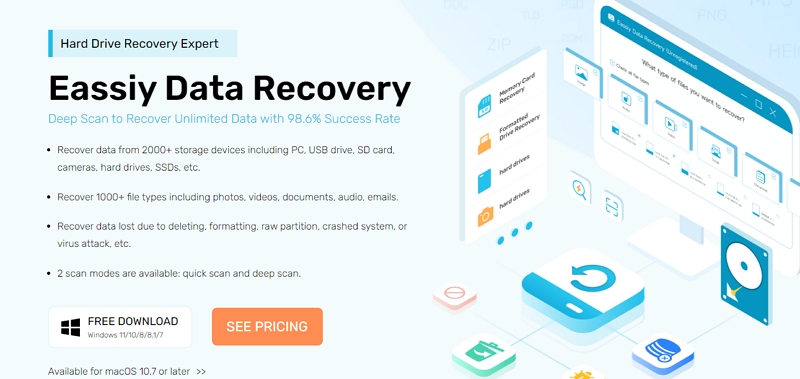
Stop struggling while attempting to recover your deleted files from the downloads folder and introduce Eassiy Data Recovery, a toprated hard drive recovery program with a 98.6% success rate.
It supports more than 1000 file types. It offers the best features for quick recovery of deleted emails, photos, documents, videos, and audio.
Free Download Free Download Free Download Free Download
Features:
- Data can be recovered from over 2000 storage devices, including SSDs, hard drives, USB drives, SD cards, cameras, and hard drives.
- Recover over a thousand file types, including emails, documents, and videos.
- Recover information lost due to deletion, formatting, raw partitioning, system failure, virus attack, etc.
- The two different scanning options are quick scan and deep scan.
Frequently Asked Questions
Is there a way to resolve the problem that the Mac can't repair the disk?
If you encounter the macOS can't repair your disk issue, replacing or formatting it is essential. Keep your data backup, erase, and reformat your disk. Then, proceed to restore your backedup data.
What command should I follow to repair my hard disk with cmd?
Try the following fixes to repair the hard disk using cmd:
- Press Start> enter cmd> and run it as an administrator.
- Include a CHKDSK command in your command prompt and type Enter. Use parameters such as "/x," "/r," and "/f" to get done with scanning and repairing the errors.
Note: If you want to scan the PC to inspect drive errors, enter "chkdsk" and hit "Enter."
How to fix the disk error?
The origin of hard disk errors is usually hardware failures, viruses, power outages, low system maintenance, or human error. Use the Chkdsk tool to resolve and fix mistakes present in your Windows OS.
Final Words
Most Mac users would go to Disc Utility and perform First Aid to fix a disc if it malfunctioned incorrectly. However, when Disc Utility First Aid cannot repair this disc, the error message "Disc Utility can't repair this disc" typically occurs. Even if it's upsetting, you won't necessarily lose all of your files.
In this post, we'll provide practical answers to the "Disc Utility can't repair this disc" problem, particularly if you're having trouble using Macos that can't repair the disk's external hard drive. We have also recommended the best software, Eassiy Data Recovery, to eliminate this issue.
Hot Articles

Macube Cleaner
Speed up and troubleshoot your Mac super easily with a Macube full-featured free trial!
Start Free Trial