Autofill is a useful browser feature that helps users save time by automatically filling in previously entered information such as username, password, address, and payment details. Despite its convenience, autofill can pose privacy and security risks, especially when used on shared or public devices. This guide provides comprehensive instructions on how to remove and disable autofill data on various browsers on your Mac to enhance your privacy and security.
Part 1: What is Autofill?
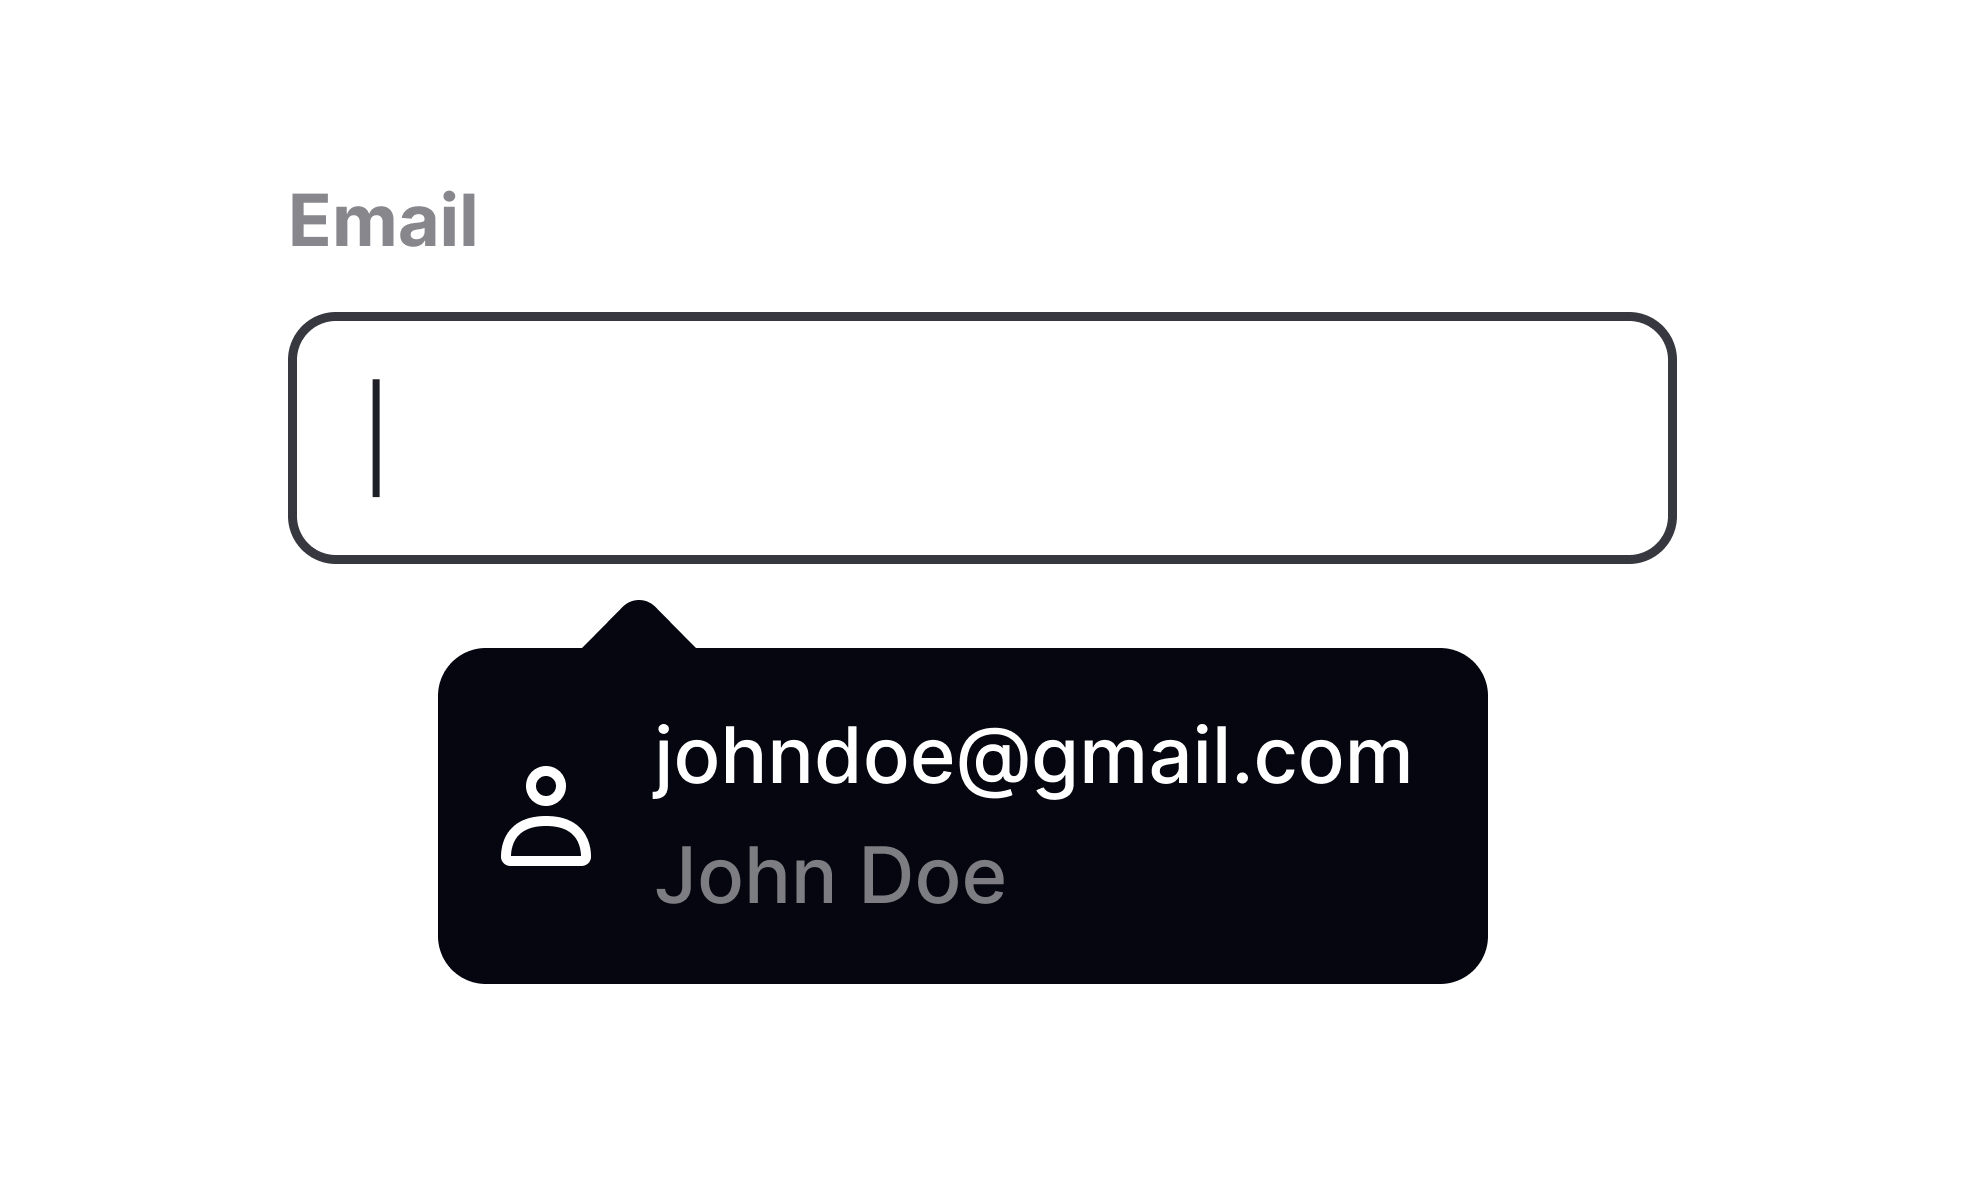
Autofill is a feature in web browsers that automatically completes form fields with previously entered information such as usernames, passwords, addresses, and payment details. This saves time by eliminating the need to manually enter the same information repeatedly. However, while convenient, autofill can also potentially expose sensitive data if not managed securely, especially on shared or public devices.
Part 2: Deleting Google Autofill on a Mac
After Google Chrome prompts users to save their account credentials (username and password) upon account creation, Autofill can automatically populate login fields during subsequent visits to websites. However, for privacy and security reasons, it's important to know how to manage and delete Google Autofill data on a Mac. This part will present 2 methods for effectively removing Autofill information.
Method 1: Manually Delete Google Autofill on Mac
Step 1. Open Google Chrome.
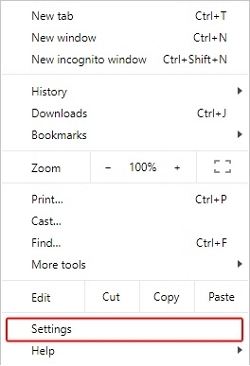
Step 2. Click the three-dot menu icon in the top-right corner and select "Settings."
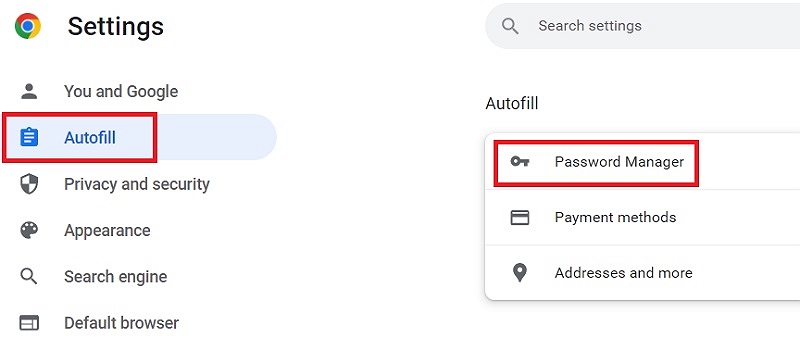
Step 3. Navigate to Autofill Settings: Select "Autofill" from the sidebar.
Step 4. Manage and Delete Data:
- For passwords, click "Passwords" and delete unwanted entries.
- For payment methods, click "Payment methods" and remove unnecessary cards.
- For addresses, click "Addresses and more" and delete outdated information.
To completely clear all autofill information in Google Chrome, follow these steps:
Step 1. Open Chrome and click on "Settings."
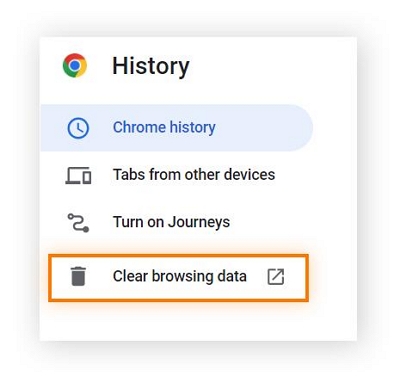
Step 2. Navigate to "History" > "Show Full History." > "Clear Browsing Data..."
Step 3. In the window that appears, switch to the "Advanced" tab.
Step 4. Check the boxes next to "Passwords and other sign-in data" and "Autofill form data."
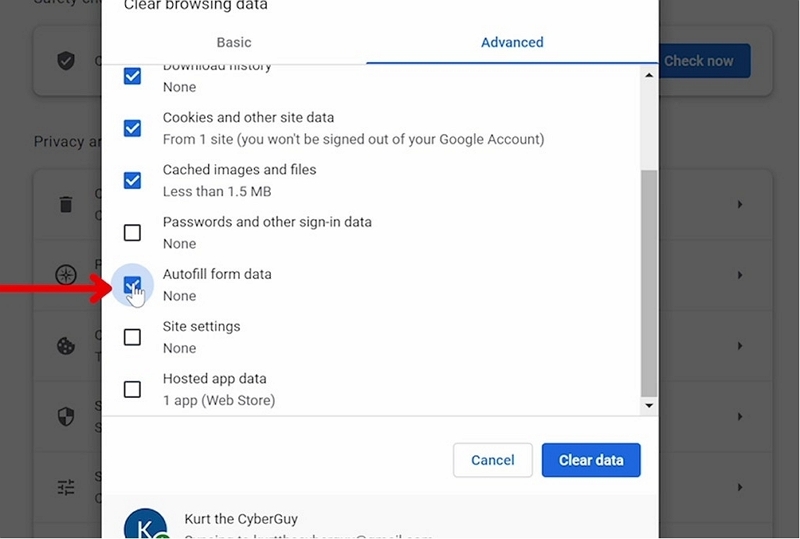
Step 5. Click "Clear data" to finalize the removal of autofill information.
How to Completely Disable Google Autofill on a Mac
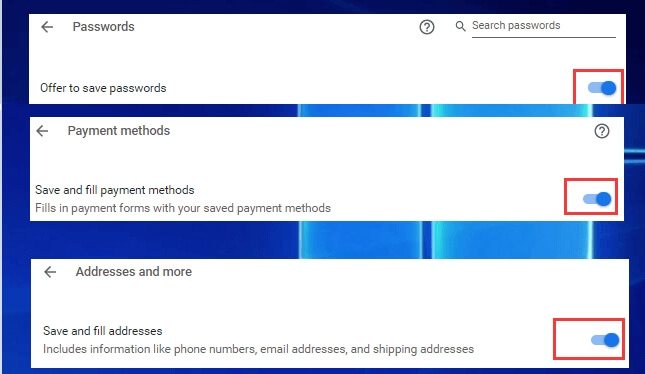
Step 1. Open Settings: Follow the steps to access the "Autofill" settings.
Step 2. Disable Autofill: Toggle off the options for "Passwords," "Payment methods," and "Addresses and more."
Plan B: 1-click removal of Google Autofill and other browser Autofill
Install a Cleaning Tool: Download and install a reliable tool like Macube Cleaner.
Macube Cleaner is a versatile Mac cleaning tool that efficiently removes autofill data from various browsers. It also previews and clears browser cache, cookies, and history. With intelligent scanning, it eliminates junk files, locates forgotten large old files, duplicates, and similar photos. Additionally, it can easily delete stubborn and malicious software.
Key Features
- Advanced intelligent scanning function, completely delete junk files in Mac.
- Allows you to customize the duplication of similar files, saving more space.
- It can remove email attachments such as photos, videos, PDFs, ZIP files, etc.
- You can quickly delete unwanted files with one click to maximize storage space for your Mac.
Run the Tool:
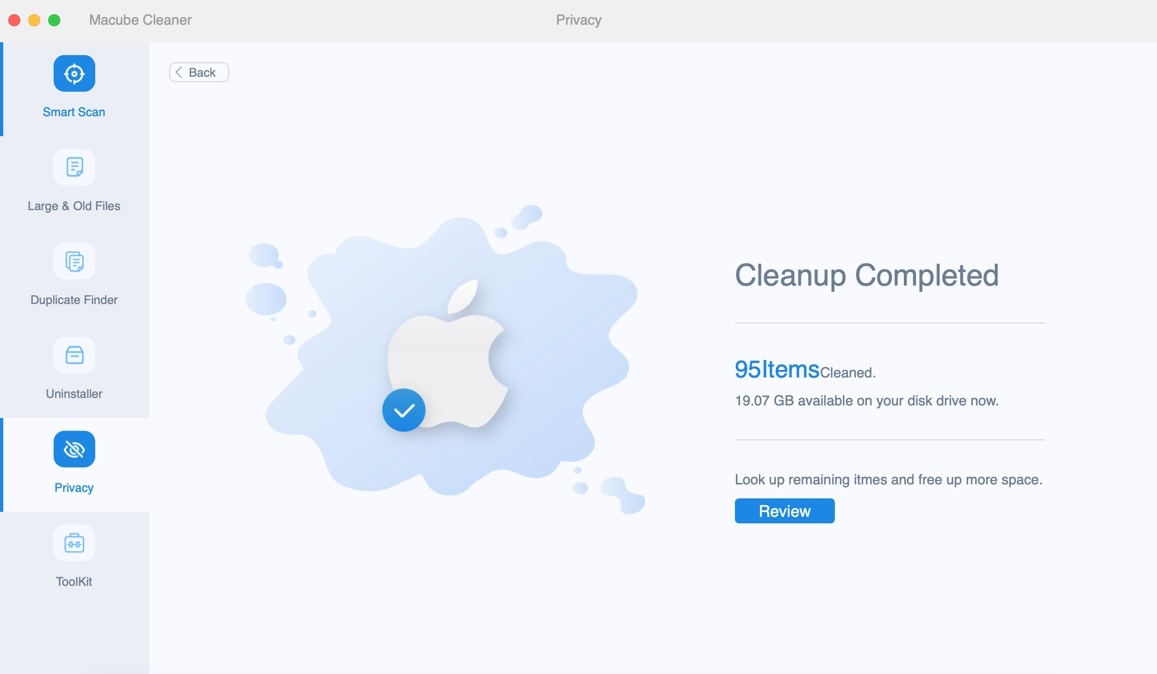
Step 1. Open Macube Cleaner and select "Privacy."
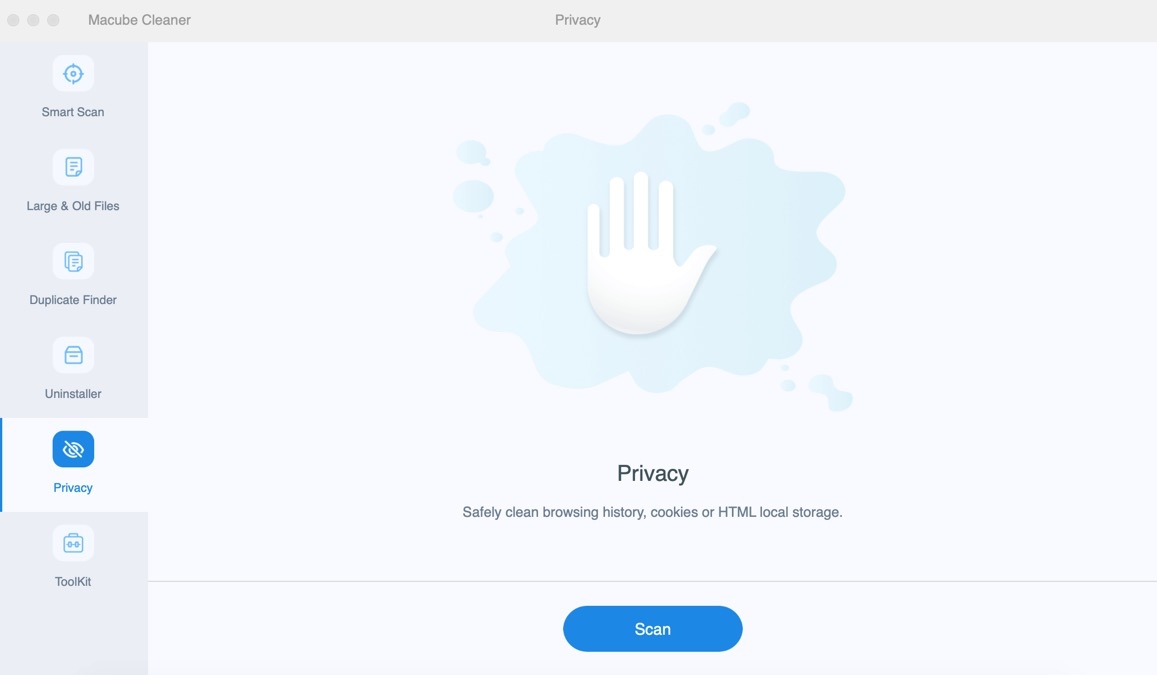
Step 2. Check the options for autofill data under Google Chrome.
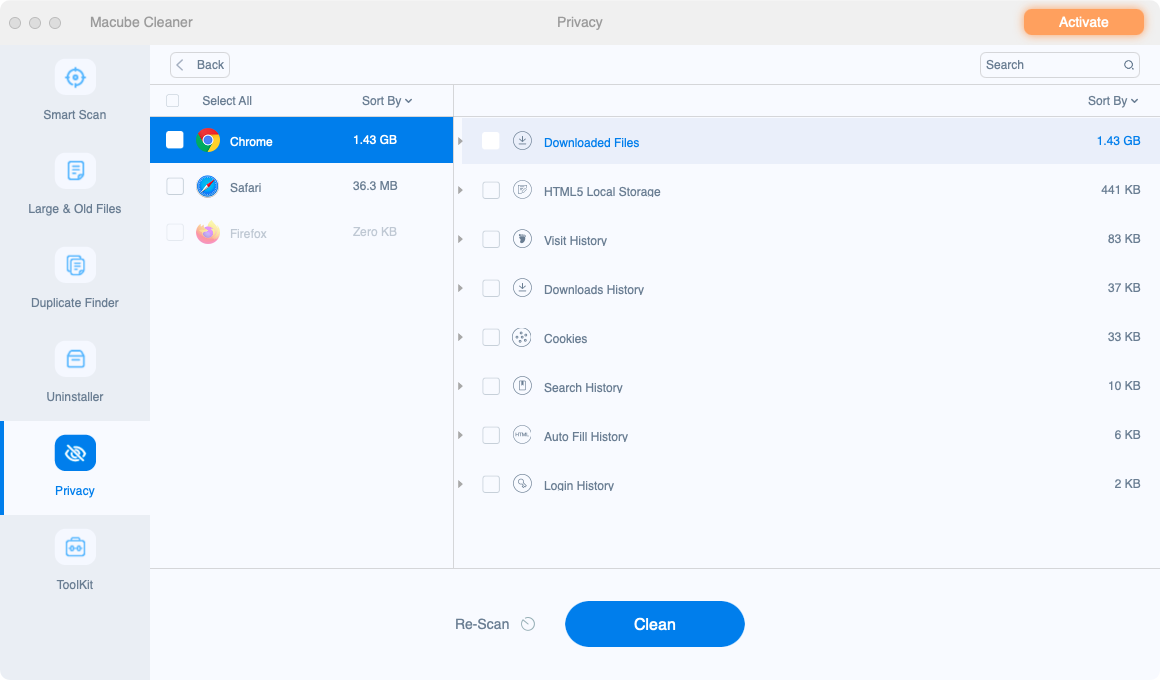
Step 3. Click "Clean" .
Part 3: Cleaning Firefox Autofill on a Mac
Firefox offers tools to manage autofill data for enhanced privacy. Here's how to do it:
Step 1. Launch Firefox.
Step 2. Click the menu icon (three horizontal lines) and choose "Options."
Step 3. Select "Privacy & Security" from the menu.
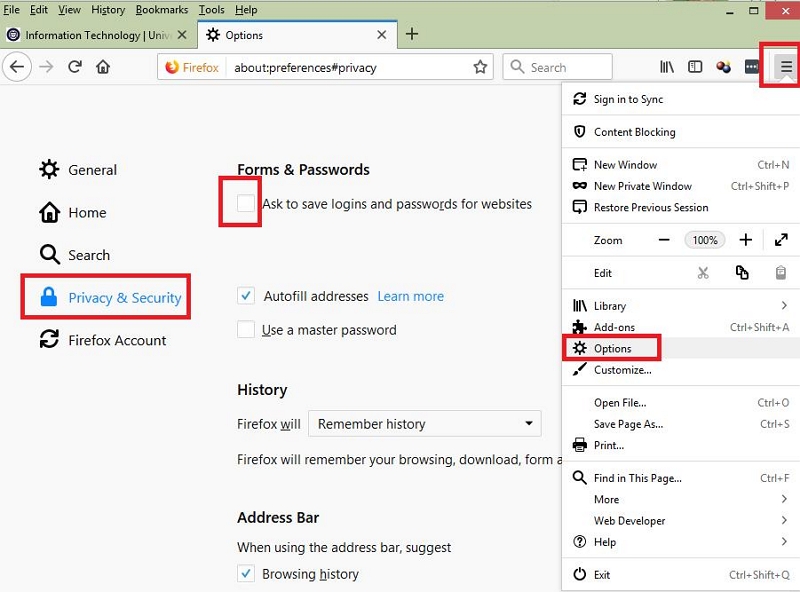
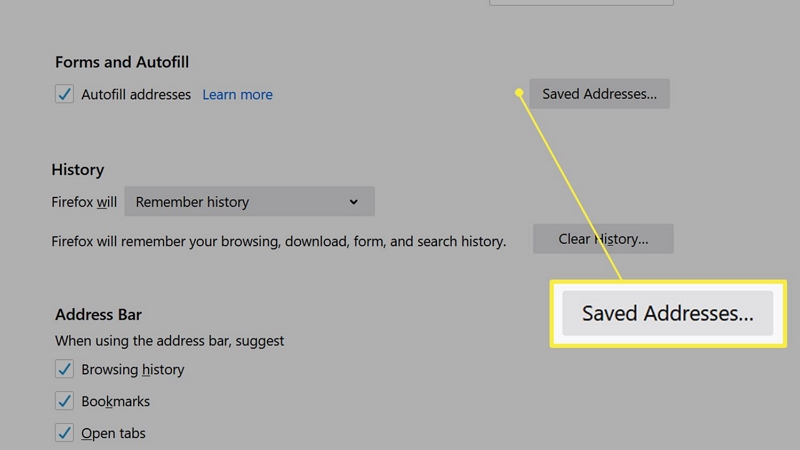
Step 4. Remove Saved Logins: Click on "Saved Logins" and "Saved Addresses" to delete any entries you no longer need.
How to Disable Firefox Autofill on a Mac
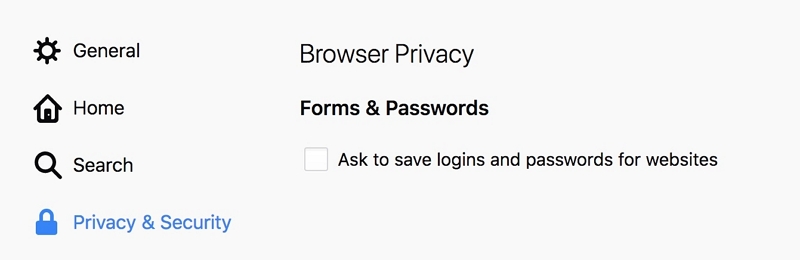
Step 1. Follow the steps to access the "Privacy & Security" settings.
Step 2. Uncheck the boxes for saving addresses and login information.
Part 4: Removing Edge Autofill on a Mac
Enhance your browsing privacy by clearing autofill data in Microsoft Edge:
Step 1. Launch Microsoft Edge.
Step 2. Access Settings: Click the menu icon (three dots) and select "Settings."
Step 3. Navigate to "Privacy, Search, and Services": Choose this option from the sidebar.
Step 4. Clear Browsing Data: Click on "Choose what to clear" under "Clear browsing data."
Step 5. Select Autofill Form Data: Check the box next to "Autofill form data (includes forms and cards)."
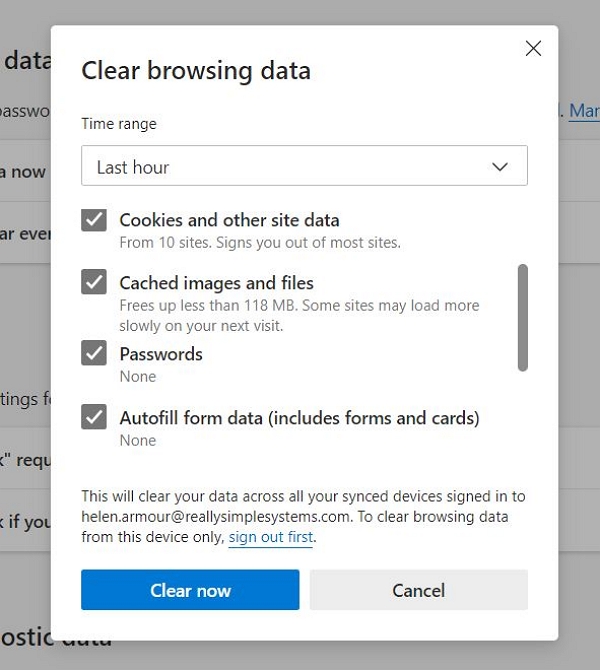
Step 6. Click "Clear now" to remove autofill data from Microsoft Edge on your Mac.
How to Disable Edge Autofill on a Mac
Step 1. Click on the "Settings and More" icon (three dots at the top right corner).
Step 2. Select "Settings" from the dropdown menu.
Step 3. Ensure the menu defaults to "Profiles." If not, select "Profiles" from the left-hand sidebar.
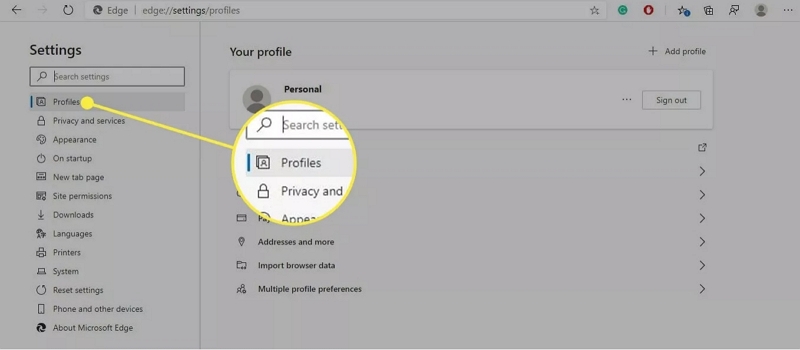
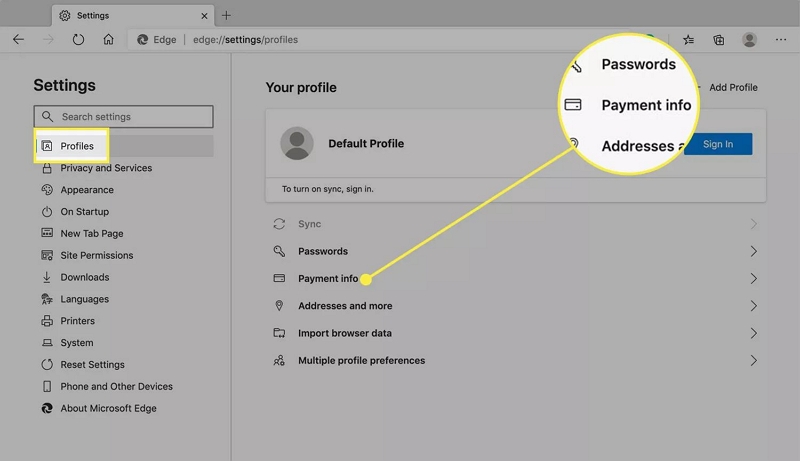
Step 4. In the "Your Profile" section, click on each of the following and toggle them off:
- Passwords
- Payment info
Step 5. Your settings will be saved automatically.
Part 5: Managing Safari Autofill on a Mac
Autofill in Safari can streamline your online experience, but managing this data is crucial for maintaining privacy. Follow these steps to manage and remove autofill information in Safari on your Mac:
Step 1. Open Safari.
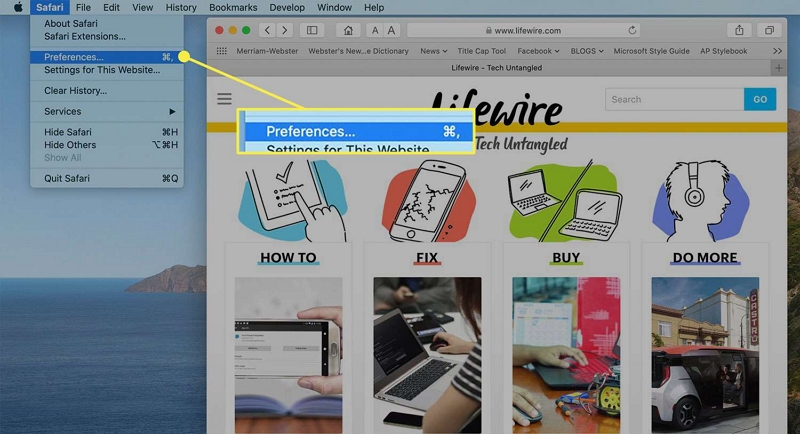
Step 2. Click on "Safari" in the top menu bar and select "Preferences."
Step 3. Select the "Autofill" tab in the preferences window.
Step 4. Manage Autofill Data:
- For contact information, click "Edit" next to "Using information from my contacts" and remove unwanted entries.
- For usernames and passwords, click "Edit" next to "Usernames and passwords" and delete the entries you no longer need.
- For credit card information, click "Edit" next to "Credit cards" and remove outdated or unnecessary cards.
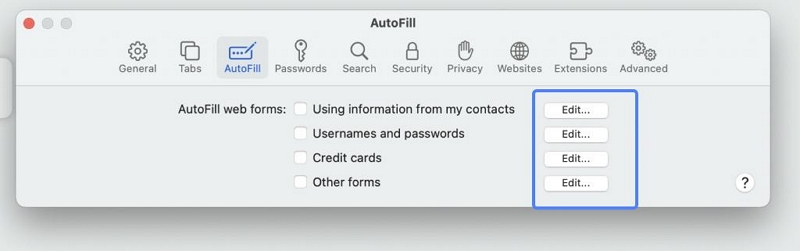
Step 5. Click "Done" once you have finished making changes.
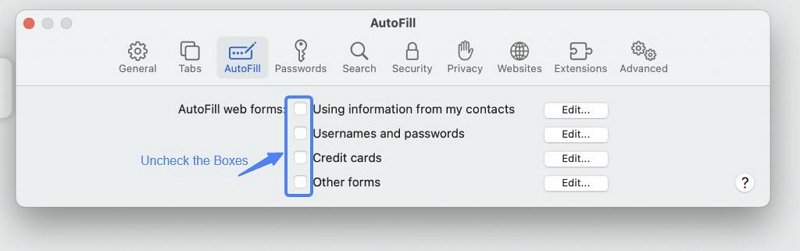
How to Disable Safari Autofill on a Mac
1. Open Autofill Preferences: Follow the steps to access "Autofill" settings.
2. Disable Autofill: Uncheck the boxes for using autofill for contact info, usernames and passwords, and credit cards.
Conclusion
Each browser requires a different cleaning process, so you need to repeat the steps regularly and remember them. Alternatively, using Macube Cleaner can simplify this task. With a single click, you can clean up all browser privacy records, including autofill, saving your brain the effort of memorizing multiple steps.
Macube Cleaner
Speed up and troubleshoot your Mac super easily with a Macube full-featured free trial!
Start Free Trial